Installing a Craftsman garage door opener is a straightforward process with the right tools and guidance. This guide provides a comprehensive overview of the installation steps, ensuring safety and ease for residential use. Follow the manual carefully to achieve a successful and functional setup.
Overview of the Installation Process
The installation of a Craftsman garage door opener involves a series of structured steps to ensure proper functionality and safety. It begins with preparing the garage door, ensuring it is balanced and lubricated. Next, the opener is assembled and mounted securely on the ceiling, followed by installing the rail system and safety sensors. The process requires careful alignment and adherence to the manual’s instructions. Once all components are in place, programming the remote control and testing the opener’s operation are the final steps. This systematic approach ensures a smooth and efficient installation experience for homeowners.
Importance of Following the Manual
Following the installation manual is crucial for ensuring the safe and correct setup of your Craftsman garage door opener. The manual provides detailed instructions tailored to your specific model, helping you avoid common mistakes that could lead to improper installation. It outlines critical safety precautions to prevent injuries and property damage. By adhering to the guidelines, you ensure the opener functions as intended, with proper alignment, secure mounting, and accurate programming. Deviating from the manual can result in a malfunctioning system or safety hazards. Always refer to the manual for troubleshooting tips and maintenance recommendations to maintain optimal performance and longevity.
Safety Precautions and Warnings
Adhering to safety guidelines is crucial when installing a Craftsman garage door opener. Disconnect the door from the opener, remove ropes, and ensure proper balancing to avoid severe injury or death. Follow the manual’s instructions carefully to prevent accidents and ensure a secure installation.
General Safety Guidelines
Always read and follow the manual carefully before starting the installation. Disconnect the garage door from the opener and remove any ropes to prevent accidents. Ensure the door is properly balanced and lubricated to avoid mechanical issues. Wear protective gear, such as gloves and safety glasses, when handling tools and components. Keep children and pets away from the work area. Never attempt to install the opener while standing under the garage door. Ensure all locks are disabled and the door is secure before testing. Follow all safety precautions to prevent severe injury or death during the installation process.
Specific Warnings for Installation
Never install the garage door opener on an unbalanced or unlubricated door, as this can lead to mechanical failure. Ensure all ropes and locks are removed before starting. Avoid entanglement with door springs or cables. Always disconnect the door from the opener during installation to prevent accidental operation. Use a stepladder safely and maintain three points of contact. Do not override safety sensors during installation, as this can disable critical safety features. Keep all loose clothing and long hair tied back to avoid accidental entanglement with moving parts. Follow all warnings in the manual to prevent severe injury or death.
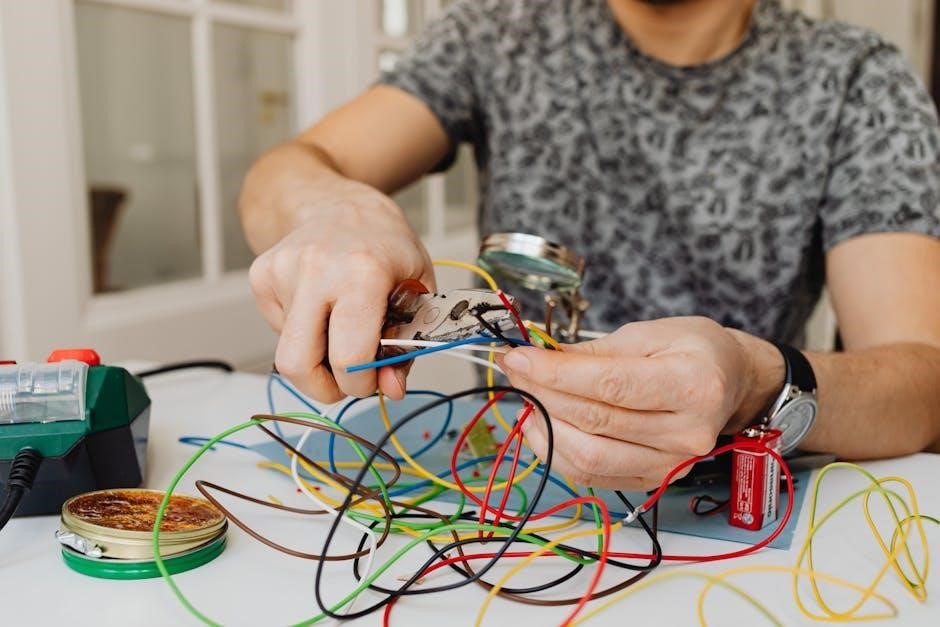
Tools and Materials Required
Essential tools: Drill, screwdrivers, wrenches, pliers, and a level. Materials needed: Wood blocks, extension brackets, and screws for secure installation. Ensure all items are available before starting.
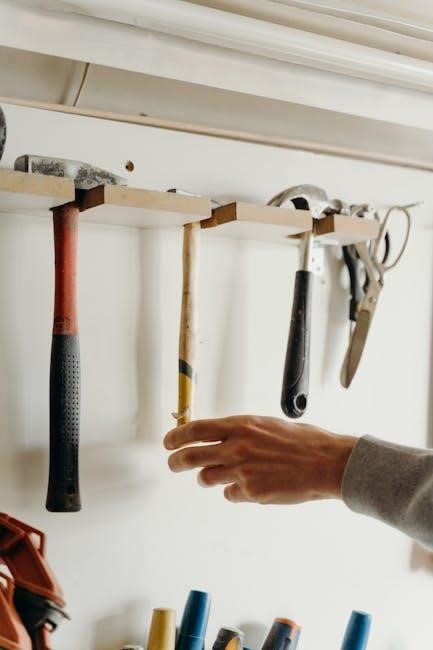
Essential Hand Tools for Installation
Proper tools are crucial for a safe and efficient installation. Drill: For drilling holes and securing brackets. Screwdrivers: Both flathead and Phillips for various screws. Wrenches and pliers: For tightening bolts and gripping small parts. Level: Ensures proper alignment of the opener. Stepladder: For reaching high areas safely. Pencil: To mark drilling locations. Additional tools like a carpenter’s level and drill bits may be needed. Gather all tools beforehand to avoid delays. Always refer to the manual for specific requirements, as some models may need additional tools for assembly or adjustment.
Additional Materials Needed
Beyond essential tools, gather materials like screws, bolts, and brackets for secure mounting. Wood blocks or shims may be needed for proper alignment. Safety sensors and wiring are crucial for functionality. Lubricant for tracks ensures smooth operation. Extension kits or rails might be required for taller doors. Ensure all hardware is compatible with your model. The owner’s manual provides specific details on materials needed for your opener; Having these items ready ensures a smooth installation process and proper door functionality. Always verify compatibility and quantities before starting the project to avoid delays.
Preparing the Garage Door
Ensure the garage door is properly balanced and lubricated for smooth operation. Remove any obstructions and disconnect the door from its current opener, if applicable.
Balancing the Garage Door
Balancing the garage door is crucial for proper function and safety. Disconnect the door from the opener and test its movement manually. A balanced door should stay in place when partially open. If it doesn’t, adjust the springs or consult a professional. An unbalanced door can cause the opener to work harder, leading to premature wear or malfunction. Ensure the door moves smoothly without resistance before proceeding with installation. Proper balancing ensures safe and efficient operation of your Craftsman garage door opener.
Lubricating the Door and Tracks
Lubricating the garage door and tracks is essential for smooth operation and longevity. Use a silicone-based spray lubricant on the rollers, hinges, and springs. Avoid using WD-40 or oil-based products, as they can attract dust. Apply lubricant every 6 to 12 months or when you notice friction. Wipe off excess lubricant with a cloth to prevent drips. Proper lubrication ensures the door moves quietly and reduces wear on the opener. Refer to your Craftsman manual for specific recommendations on lubrication frequency and approved products. Regular maintenance helps maintain optimal performance and safety.
Installing the Garage Door Opener
Mount the opener securely on the ceiling, assemble the rail system, and attach it to the door. Install safety sensors and ensure proper alignment for smooth operation.
Mounting the Opener on the Ceiling
Begin by attaching the ceiling mounting bracket to the garage door opener. Use a level to ensure it is straight and secure. Locate the center point of the garage door and mark the ceiling directly above it. Drill pilot holes and screw the bracket firmly into place. Use a stepladder for safe access. Follow the manual’s instructions to tighten all bolts and ensure stability. Double-check the alignment to prevent misoperation. Once mounted, proceed to assemble and attach the rail system. Always refer to the manual for specific torque specifications and safety guidelines during this critical step.
Assembling and Attaching the Rail System
Start by assembling the rail system according to the manual’s instructions. Attach the rail segments together, ensuring they are properly aligned and securely fastened with the provided screws. Once assembled, attach one end of the rail to the garage door opener and the other to the door’s trolley. Use a level to ensure the rail is straight and evenly spaced. Tighten all connections firmly but avoid over-tightening. Refer to the manual for specific torque specifications. Proper alignment and secure attachment are critical for smooth operation. Double-check the system before proceeding to the next steps to ensure safety and functionality.
Installing Safety Sensors
Install safety sensors on both sides of the garage door, approximately 6 inches above the floor. Ensure they are aligned and facing each other directly. Secure the sensors using screws or brackets provided in the kit. Refer to the manual for specific placement instructions to comply with safety standards. After installation, test the sensors by passing an object, like a broom, between them to verify the door stops or reverses. Proper alignment and function are critical to prevent accidents. Follow the manual’s troubleshooting guide if the sensors fail to respond correctly during testing.

Programming and Testing
Program the remote control by following manual instructions to sync with the opener. Test door functionality to ensure smooth operation and verify safety sensors are working correctly.
Programming the Remote Control
Programming the remote control ensures seamless communication with your Craftsman garage door opener. Locate the “Learn” button on the opener, usually near the antenna. Press and release it to enter programming mode. Follow the manual’s instructions to sync the remote by pressing the desired button. Test the remote from various distances to ensure proper functionality. For 315 MHz models, ensure the remote is compatible. If issues arise, consult the troubleshooting section. Some models may require reprogramming after a power outage. Always refer to the manual for specific steps tailored to your opener model to ensure correct pairing and operation.
Testing the Door Opener Functionality
After installation, thoroughly test the garage door opener to ensure proper functionality. Start by checking the door’s smooth operation, verifying it opens and closes fully without jerking. Test the automatic reversal feature by placing an object under the door; it should stop and reverse upon contact. Ensure the safety sensors are aligned correctly and functioning as intended. Press the remote control and wall button to confirm they activate the opener reliably. Test the opener’s responsiveness from various distances using the remote. Check all features, including timer-to-close and light activation, if applicable. Consult the manual for specific testing steps tailored to your model to ensure everything works as expected.

Maintenance and Troubleshooting
Regularly inspect and lubricate moving parts to ensure smooth operation; Check sensors for proper alignment and clean them if necessary. Refer to the manual for troubleshooting common issues like uneven door movement or remote malfunctions to maintain optimal functionality and safety.
Periodic Checks for Safe Operation
Regular inspections are crucial to ensure your Craftsman garage door opener operates safely and efficiently. Check the door’s balance by disconnecting the opener and manually moving the door—it should stay in place without drifting. Inspect the tracks for alignment and cleanliness, and tighten any loose bolts or screws. Lubricate moving parts like rollers and springs annually to prevent wear. Test the safety sensors monthly by placing an object in the door’s path to ensure it stops and reverses. Always refer to the manual for specific maintenance instructions tailored to your model. These checks help prevent accidents and extend the opener’s lifespan.
Common Issues and Solutions
One common issue is misaligned safety sensors, which prevent the door from closing. Clean the sensors and ensure they are properly aligned. If the remote control stops working, check the batteries or reprogram it following the manual’s instructions. A door that doesn’t open fully may indicate incorrect travel limits—adjust these settings in the opener. For a door that reverses unexpectedly, inspect for obstructions or balance issues. Regularly lubricating moving parts can resolve noisy operation. Always refer to the manual for troubleshooting specific to your model, ensuring safety and optimal performance of your Craftsman garage door opener.